Adjustable Angle Crosscut w/Drop Panel #001
build-it system > incra free jig plans
Adjustable Angle Crosscut W/Drop Panel - 001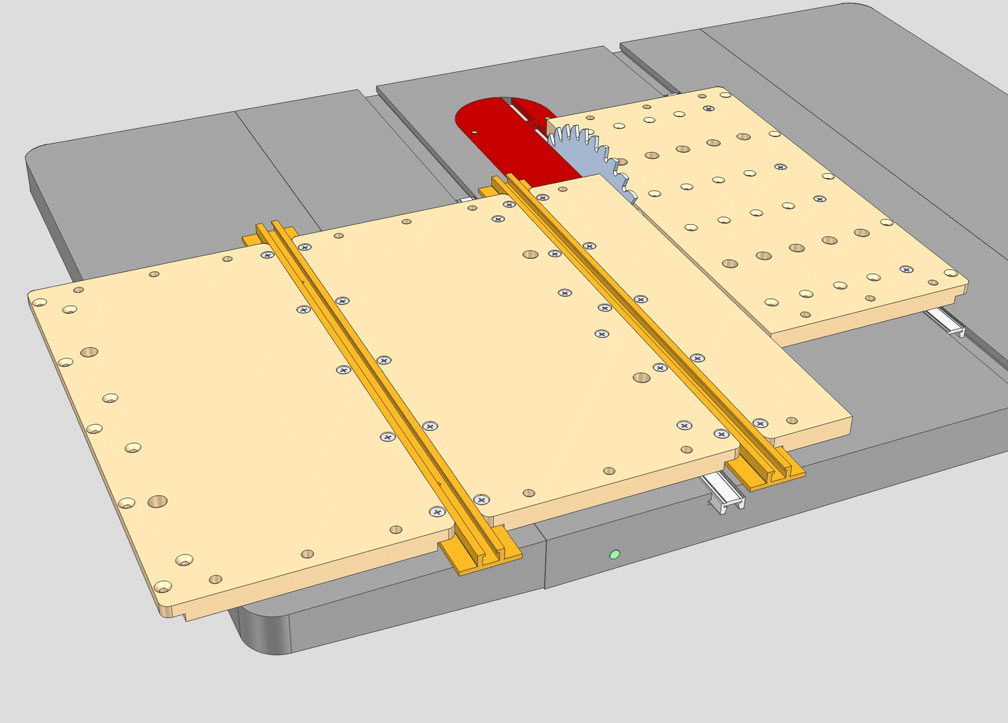
Build-It Platform Components Required:
- 1 Large Build-It Panel
- 2 Small Build-It Panels
- 2 Miter Sliders
- 2 T-Slot Panel Connectors
- 24" T-Track Regular
- 24" T-Track Plus
- Build-It Knobs
- Build-It Brackets
- Build-It Clamp
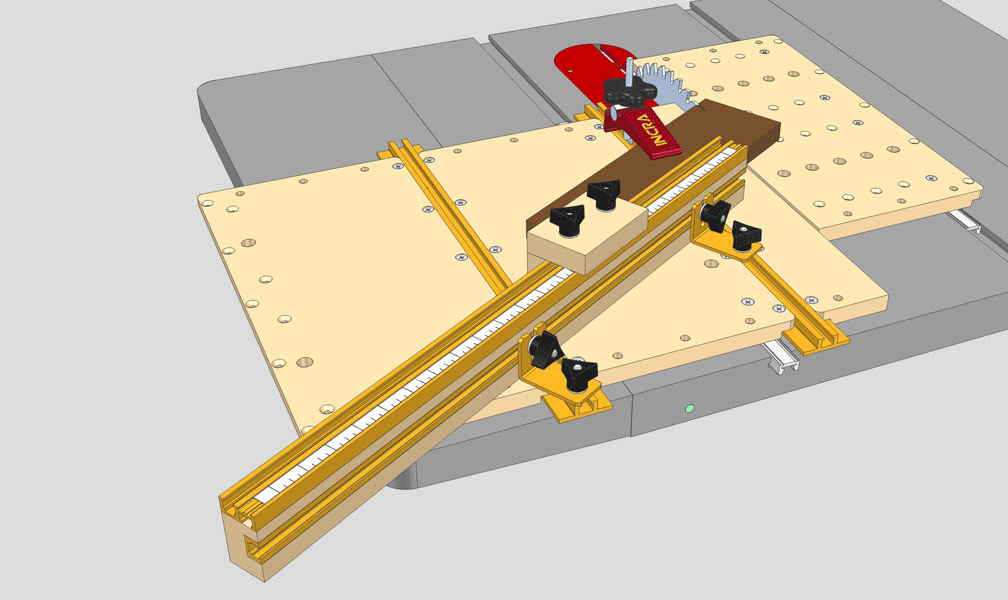
Based on a simple shooter board styled squaring jig, this wonderful implementation of the Built-It System components offers much more than just 90 degree cutoff control. The T-Track Plus and user made stop positioner provide repeatable crosscut length control. The rear mounted T-Track Regular combined with a pair of Build-It Brackets along with the twin T-Slot Panel Connectors allow for unlimited adjustment of the fence angle. And the locking drop panel safely catches any off cuts from your workpiece.
Begin by adding a Miter Slider to a small Build-It Panel. Place in your table saw's miter slot and adjust for a good fit, then add a T-Slot Panel Connector to each edge. Increase the platform width away from the blade by adding another Build-It Panel. Add a large Build-It Panel to the opposite edge. Trim to the blade and then use the remaining piece of the large panel along with another Miter Slider to make the drop panel as described in Steps 3 through 7 shown on the reverse side of your Build-It Panel's wrapper. Make the 24" fence and stop as shown in Fig. 3 and Detail 3A using 24" T-Track Regular and T-Track Plus components then attach to the T-Slot Panel Connectors using a pair of Built-It Brackets. Lock the drop panel adjacent to the saw blade to catch the off cuts, adjust the fence angle to suit your project and cut away.
Begin by adding a Miter Slider to a small Build-It Panel. Place in your table saw's miter slot and adjust for a good fit, then add a T-Slot Panel Connector to each edge. Increase the platform width away from the blade by adding another Build-It Panel. Add a large Build-It Panel to the opposite edge. Trim to the blade and then use the remaining piece of the large panel along with another Miter Slider to make the drop panel as described in Steps 3 through 7 shown on the reverse side of your Build-It Panel's wrapper. Make the 24" fence and stop as shown in Fig. 3 and Detail 3A using 24" T-Track Regular and T-Track Plus components then attach to the T-Slot Panel Connectors using a pair of Built-It Brackets. Lock the drop panel adjacent to the saw blade to catch the off cuts, adjust the fence angle to suit your project and cut away.
downloads
Click to download Adjustable Angle Crosscut w/Drop Panel Jig Plan (001) in PDF format.
accessories
 INCRA T-Track Regular Single T-Track, no scale.
Choose from four lengths. Can be cut to fit your jig exactly.
INCRA T-Track Regular Single T-Track, no scale.
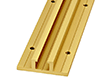
Choose from four lengths. Can be cut to fit your jig exactly. INCRA T-Track Plus The only T-Track with an included adjustable scale.
Choose from four lengths. Can be cut to fit your jig exactly.
INCRA T-Track Plus The only T-Track with an included adjustable scale.
Choose from four lengths. Can be cut to fit your jig exactly.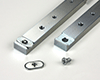 INCRA Miter Slider SE The steel bars are more
rigid than any wooden or plastic runners. Also compatible with all INCRA Build-It products.
INCRA Miter Slider SE The steel bars are more
rigid than any wooden or plastic runners. Also compatible with all INCRA Build-It products.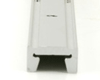 INCRA Miter Sliders This long aluminum
runner adjusts from the
INCRA Miter Sliders This long aluminum
runner adjusts from theTOP for perfect sliding action in any standard 3/4" x 3/8" miter gauge slot.
 INCRA Build-It T-Slot Panel Connectors Interconnect the 5/8” pre-cut and pre-drilled MDF Build-It Panels in seconds. Adds strength, rigidity and a rock solid T-slot.
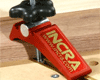 INCRA Build-It Clamp Works with any T-Track & INCRA’s New Build-It T-Slot Panel Connector.
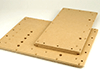 INCRA Build-It Panels These universal 5/8" MDF Panels are pre-cut and pre-drilled to instantly accept INCRA's Miter Sliders and
T-Slot Panel Connectors.
INCRA Build-It Panels These universal 5/8" MDF Panels are pre-cut and pre-drilled to instantly accept INCRA's Miter Sliders and
T-Slot Panel Connectors.


