Bridged Crosscut Box #002
build-it system > incra free jig plans
Bridged Crosscut Box - 002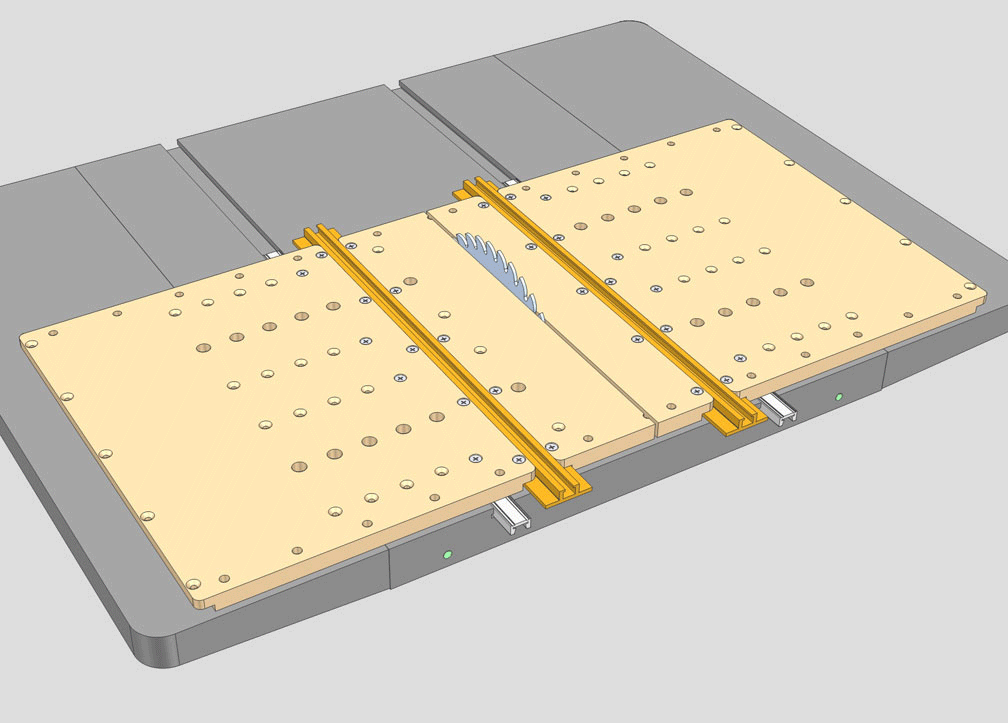
Build-It Platform Components Required:
- 2 Large Build-It Panel
- 1 Small Build-It Panels
- 2 Miter Sliders
- 2 T-Slot Panel Connectors
The crosscut box is by far the most common and, in many cases, the most important jig in the shop. While it's most obvious benefit is that of providing support and accurate results when crosscutting large planks, it is also a necessity for the safe handling and cutting of small pieces. Since both sides of the crosscut box slide together, nothing is left next to the blade after the cut is made and the jig is moved back to the starting position. You can quickly and safely remove the cutoff and advance your stock for the next cut. Add a Build-It Clamp to provide a secure hold on your workpiece and a 90-degree cut for your next slice and dice operation is a sure thing.
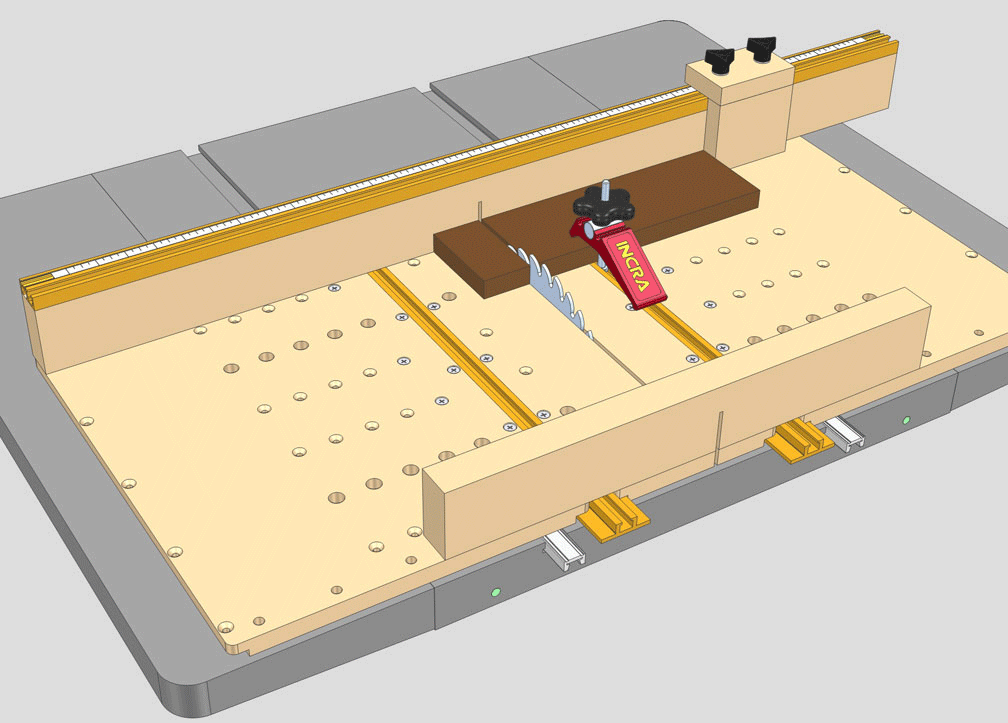
Add a Miter Slider to each of the 2 large Build-It Panels using the line of mounting holes closest to the edge of the panel. Attach a T-Slot Panel Connector to this same edge on each panel. Adjust one of the sliding assemblies for the left miter slot and the other for the right. Remove the assembly from the right slot. Attach the small Build-It Panel to the left side assembly and run through the saw blade to trim off the excess. Remove the left side assembly. Now, replace the right side assembly in the right hand miter slot. Add the remaining piece of the small Build-It Panel and run it through the saw to remove the excess panel. Replace the left side assembly and use double-faced tape and a square to add the bridge and fence to the Build-It platform. Position the fence to favor the left or right side of the blade to suit. Carefully slide the assembly out of your miter slots and turn upside down. Use #8 x 1" pan head wood screws with washers in the counterbored holes to secure the bridge and fence to the panels. Add a T-Track Plus and make the stop shown for repeatable cut length control. See the tip on the reverse side of your Build-It Clamp's packaging for info on adding the clamp to the T-Slot Panel Connector.
Add a Miter Slider to each of the 2 large Build-It Panels using the line of mounting holes closest to the edge of the panel. Attach a T-Slot Panel Connector to this same edge on each panel. Adjust one of the sliding assemblies for the left miter slot and the other for the right. Remove the assembly from the right slot. Attach the small Build-It Panel to the left side assembly and run through the saw blade to trim off the excess. Remove the left side assembly. Now, replace the right side assembly in the right hand miter slot. Add the remaining piece of the small Build-It Panel and run it through the saw to remove the excess panel. Replace the left side assembly and use double-faced tape and a square to add the bridge and fence to the Build-It platform. Position the fence to favor the left or right side of the blade to suit. Carefully slide the assembly out of your miter slots and turn upside down. Use #8 x 1" pan head wood screws with washers in the counterbored holes to secure the bridge and fence to the panels. Add a T-Track Plus and make the stop shown for repeatable cut length control. See the tip on the reverse side of your Build-It Clamp's packaging for info on adding the clamp to the T-Slot Panel Connector.
downloads
Click to download
Bridged Crosscut Box Plan (002) in PDF format.
accessories
 INCRA T-Track Regular Single T-Track, no scale.
Choose from four lengths. Can be cut to fit your jig exactly.
INCRA T-Track Regular Single T-Track, no scale.
Choose from four lengths. Can be cut to fit your jig exactly.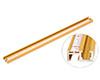 INCRA T-Track Plus The only T-Track with an included adjustable scale.
Choose from four lengths. Can be cut to fit your jig exactly.
INCRA T-Track Plus The only T-Track with an included adjustable scale.
Choose from four lengths. Can be cut to fit your jig exactly.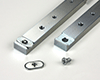 INCRA Miter Slider SE The steel bars are more
rigid than any wooden or plastic runners. Also compatible with all INCRA Build-It products.
INCRA Miter Slider SE The steel bars are more
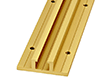
rigid than any wooden or plastic runners. Also compatible with all INCRA Build-It products.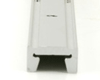 INCRA Miter Sliders This long aluminum
runner adjusts from the
INCRA Miter Sliders This long aluminum
runner adjusts from theTOP for perfect sliding action in any standard 3/4" x 3/8" miter gauge slot.
 INCRA Build-It T-Slot Panel Connectors Interconnect the 5/8” pre-cut and pre-drilled MDF Build-It Panels in seconds. Adds strength, rigidity and a rock solid T-slot.
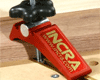 INCRA Build-It Clamp Works with any T-Track & INCRA’s New Build-It T-Slot Panel Connector.
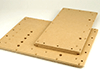 INCRA Build-It Panels These universal 5/8" MDF Panels are pre-cut and pre-drilled to instantly accept INCRA's Miter Sliders and
T-Slot Panel Connectors.
INCRA Build-It Panels These universal 5/8" MDF Panels are pre-cut and pre-drilled to instantly accept INCRA's Miter Sliders and
T-Slot Panel Connectors.


