Coping Sled Jig #003
build-it system > incra free jig plans
Coping Sled Jig - 003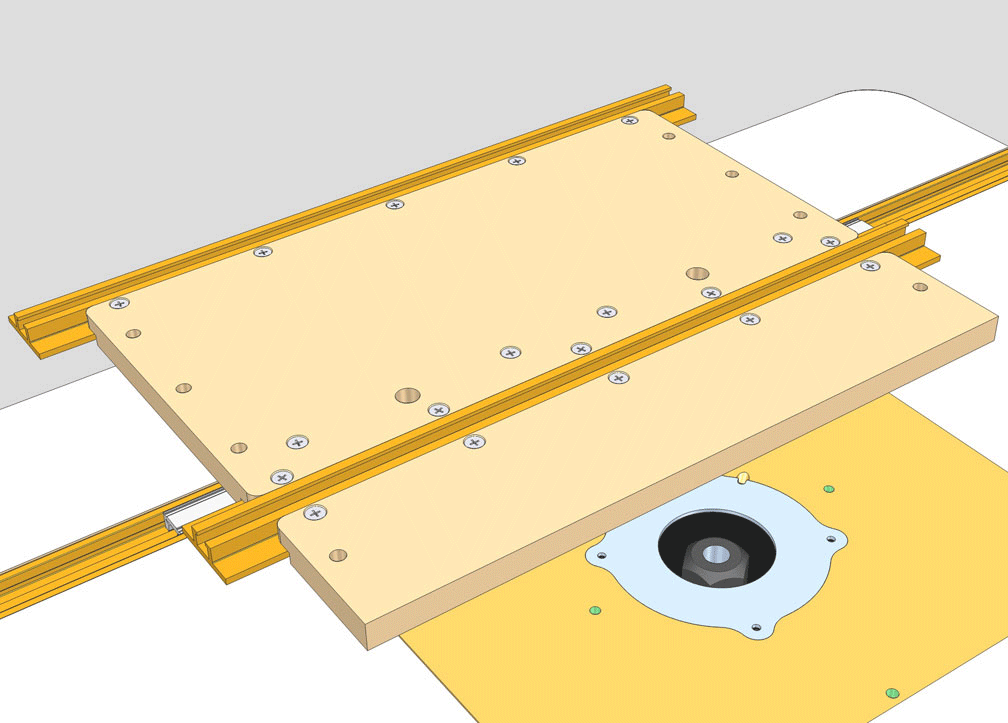
Build-It Platform Components Required:
- 2 Small Build-It Panels or one small and
one large
- 1 Miter Slider
- 2 T-Slot Panel Connectors

It can be tricky trying to make the end grain coping cuts on the rails of a frame and panel door without this handy router table jig. During assembly the end of the backing board is aligned with the bearing on your coping cutter. Then, just position the end of your rail flush with the end of the backer board for a perfect tear-out-free coping cut. Add the T-Track Plus with a user made stop to make cutting the opposite end of the first piece and any subsequent pieces of equal length is a simple matter of clamp and cut. The Build-It Clamp is required for this type of cut so don't forget to pick one up from your local Incra dealer.
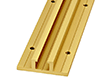
Add a Miter Slider and (2) T-Slot Panel Connectors to a small Build-It Panel and place in the miter slot at your router table. Adjust the Miter Slider to fit your slot. Cut a piece from another Build-It Panel to fill the gap between the existing assembly and your router collet. You'll want this piece to be about 1" narrower than the distance between the T-Slot Panel Connector and the 1/2" shank of the cutter. Cut 3/4" material for the fence to 4" x 18", then cut the (2) 5/16" wide slots as shown. (The slotted holes will permit support for angled work but you can simply drill (2) 5/16" holes spaced 8-1/2" apart if you are only interested in a 90 degree fence position.) Attach the fence with Build-It Knobs and 1/4-20 x 1-1/2" hex bolts with washers then add the 18" T-Track Plus. The T-Track should be offset from the business end of the fence by 2" to provide safe cutter clearance. For most coping work, the fence should be adjusted square to the edge of the panels with the end just touching the cutter's bearing guide.
Add a Miter Slider and (2) T-Slot Panel Connectors to a small Build-It Panel and place in the miter slot at your router table. Adjust the Miter Slider to fit your slot. Cut a piece from another Build-It Panel to fill the gap between the existing assembly and your router collet. You'll want this piece to be about 1" narrower than the distance between the T-Slot Panel Connector and the 1/2" shank of the cutter. Cut 3/4" material for the fence to 4" x 18", then cut the (2) 5/16" wide slots as shown. (The slotted holes will permit support for angled work but you can simply drill (2) 5/16" holes spaced 8-1/2" apart if you are only interested in a 90 degree fence position.) Attach the fence with Build-It Knobs and 1/4-20 x 1-1/2" hex bolts with washers then add the 18" T-Track Plus. The T-Track should be offset from the business end of the fence by 2" to provide safe cutter clearance. For most coping work, the fence should be adjusted square to the edge of the panels with the end just touching the cutter's bearing guide.
downloads
Click to download
Coping Sled Jig Plan (003) in PDF format.
accessories
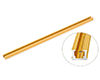 INCRA T-Track Regular Single T-Track, no scale.
Choose from four lengths. Can be cut to fit your jig exactly.
INCRA T-Track Regular Single T-Track, no scale.
Choose from four lengths. Can be cut to fit your jig exactly.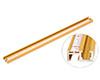 INCRA T-Track Plus The only T-Track with an included adjustable scale.
Choose from four lengths. Can be cut to fit your jig exactly.
INCRA T-Track Plus The only T-Track with an included adjustable scale.
Choose from four lengths. Can be cut to fit your jig exactly.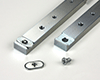 INCRA Miter Slider SE The steel bars are more
rigid than any wooden or plastic runners. Also compatible with all INCRA Build-It products.
INCRA Miter Slider SE The steel bars are more
rigid than any wooden or plastic runners. Also compatible with all INCRA Build-It products.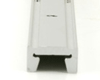 INCRA Miter Sliders This long aluminum
runner adjusts from the
INCRA Miter Sliders This long aluminum
runner adjusts from theTOP for perfect sliding action in any standard 3/4" x 3/8" miter gauge slot.
 INCRA Build-It T-Slot Panel Connectors Interconnect the 5/8” pre-cut and pre-drilled MDF Build-It Panels in seconds. Adds strength, rigidity and a rock solid T-slot.
 INCRA Build-It Clamp Works with any T-Track & INCRA’s New Build-It T-Slot Panel Connector.
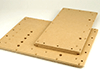 INCRA Build-It Panels These universal 5/8" MDF Panels are pre-cut and pre-drilled to instantly accept INCRA's Miter Sliders and
T-Slot Panel Connectors.
INCRA Build-It Panels These universal 5/8" MDF Panels are pre-cut and pre-drilled to instantly accept INCRA's Miter Sliders and
T-Slot Panel Connectors.


